To install this theme you must have a working version of WordPress. Please refer to WordPress documentation for further instructions. You can download the latest version of WordPress here https://wordpress.org/download/
- WordPress 4.6 or higher
- WooCommerce 4.0 or higher
- For best performance we recommend using PHP 7.2 or higher.
- MySQL 5.6 or greater OR MariaDB 10.0 or greater
- Nginx or Apache with mod_rewrite module
- This theme is tested under Mac, Windows and Linux.

If the import stalls and fails to respond after a few minutes, or it fails with a simple error message like “Import failed,” You are suffering from PHP configuration limits that are set too low to complete the process. You should contact your web host and ask them to increase those limits to a minimum as follows:
- max_execution_time 3600
- max_input_time 3600
- memory_limit 256M
- post_max_size 64M
- upload_max_filesize 64M
- max_input_vars 3000
- allow_url_fopen on (!important)
- Please install the XMLReader PHP extension on your server
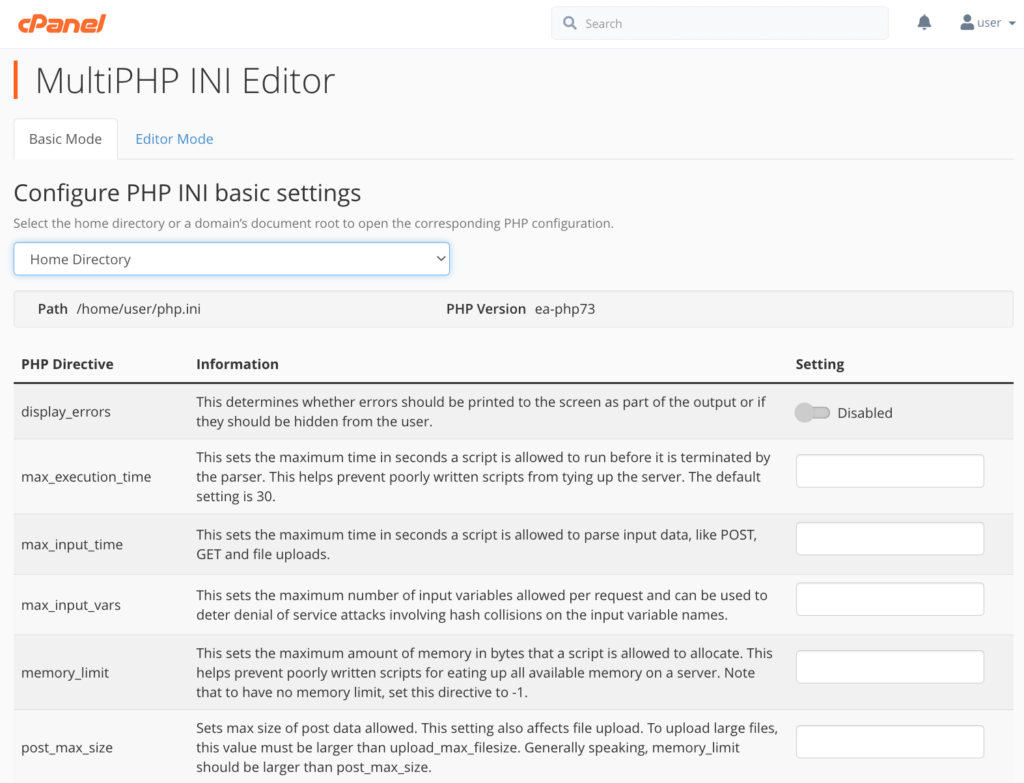
Certainly! To increase the maximum upload size in cPanel, follow these steps:
- cPanel:
- Log in to your cPanel account.
- Look for the MultiPHP INI Editor under the Software section in the main menu.
- Select a location from the dropdown (if applicable).
- Scroll down to the entry for
upload_max_filesize. - Edit the associated value to your desired limit.
- Ensure that the value for
post_max_sizeis larger thanupload_max_filesize. - Click Apply at the bottom of the page.

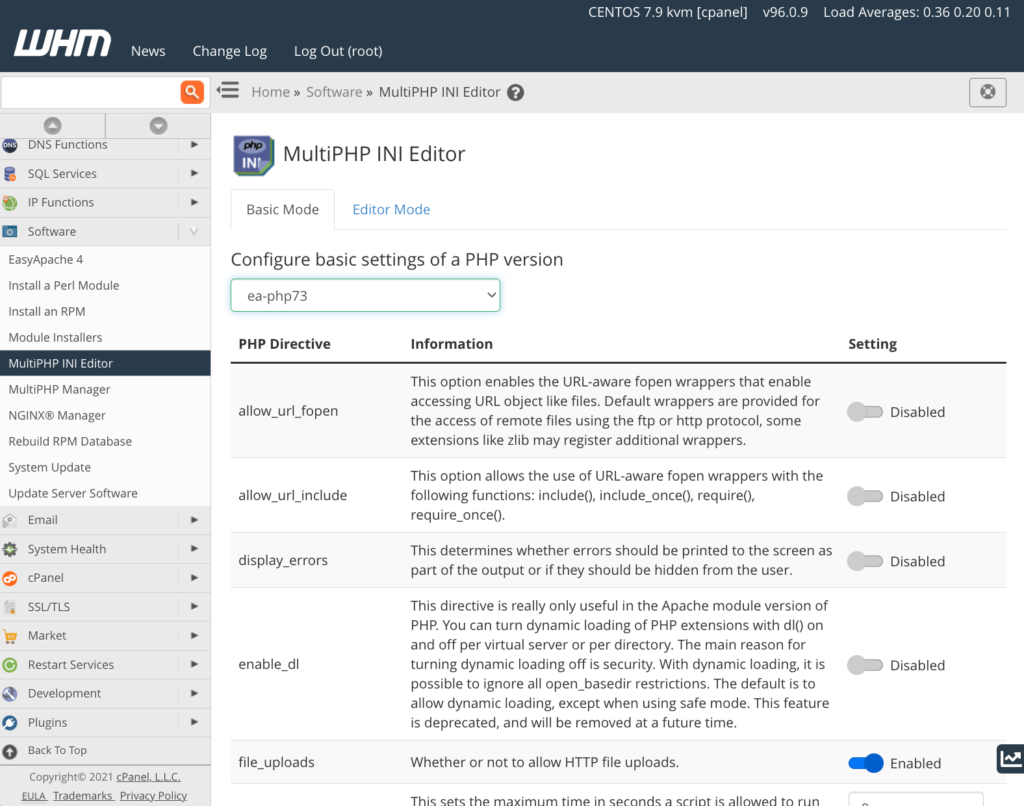
- WHM (Web Host Manager):
- Log in to WHM as the root user.
- Navigate to Home > Server Configuration > Tweak Settings.
- Click on the PHP tab.
- Locate the option for cPanel PHP max upload size.
- Increase the upload limit to your desired value.
Remember that PHP directive values are expressed in bytes. You can also use shorthand byte values like K (kilobytes), M (megabytes), and G (gigabytes). For example, 1000K is 1000 kilobytes, and 10G is 10 gigabytes1 2.
Feel free to adjust the values according to your requirements. If you need further assistance, don’t hesitate to contact us! 😊