Add/ Customize Landing Page Menu – Eventiva WordPress Theme Documentation
CART

No products in the cart.

1 min to read

Add/ Customize Landing Page Menu

avatar

Author

Published

November 22, 2023

0 comments

Join the Conversation

1. Access the WordPress Dashboard:

  • Log in to your WordPress admin dashboard.

2. Navigate to the Menu Settings:

  • Go to “Appearance” in the left-hand sidebar.
  • Select “Menus.”

3. Choose or Create a Menu:

4. Save the Menu:

  • Click the “Save Menu” button to save your changes.

5. Go to Your Landing Page and Select Your Landing Page Menu:

  • Go to “Pages” in the left-hand sidebar
  • Edit your landing page
  • In the Right-hand sidebar > Custom menu > Select your Landing page Menu

6. Go to you page Edit with Elementor:

  • Right Click the “Elementor Widget”.
  • Go to Advanced Option
  • CSS ID > Add your Section ID, it will be the same as your Landing page Menu ID.

7. Visit your landing page:

Click the Ticket menu item, now it will redirect to the Ticket Section.

You’ve done your job successfully.

How do I customize my menu bar in WordPress?
Update the WordPress theme, Without losing any Data.
Related Posts

Requirement

To install this theme you must have a working version of WordPress. Please refer to WordPress documentation for further instructions. You can download the latest version of WordPress here https://wordpress.org/download/ If…

How do I customize my menu bar in WordPress?

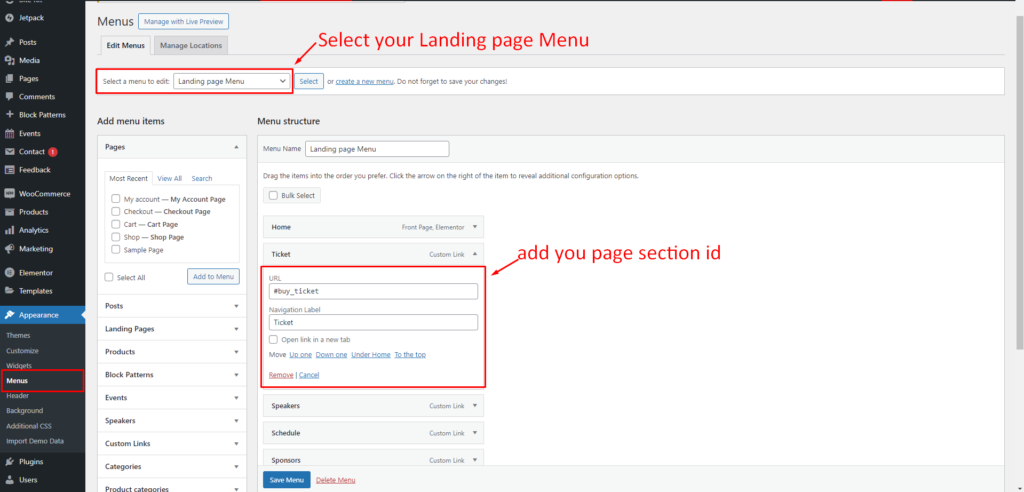
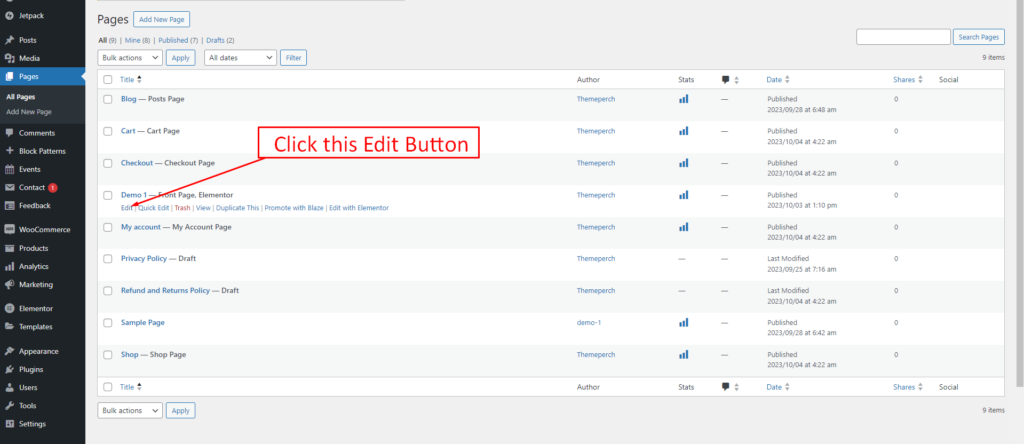
Customizing the menu bar in WordPress is a common task that allows you to control the navigation structure and appearance of your website. Here’s a step-by-step guide on how to…

Customizer settings

Theme template modifications can be made customizer settings. Settings can be accessed quickly by clicking on the pencil icon marked red in screenshot below. Customizer settings are : Color Settings Go to…

Leave a comment